The Journey to Westfield
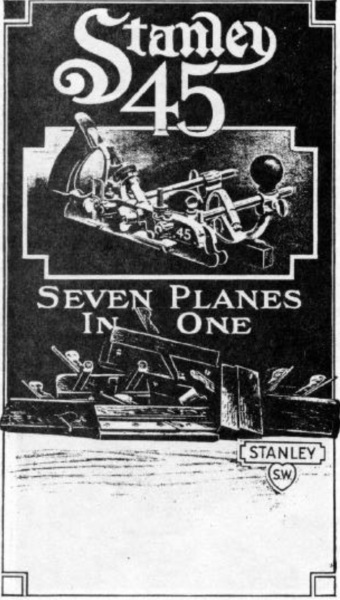
A couple of weeks ago, SWMBO and I were visiting our friend on Lake Chautauqua (Bemus Point, actually – more about that this week). There’s a neat little village nearby called Westfield, once home to several really good antique shops. I wanted to drive up and prowl, because I was looking for a Stanley 45 (or maybe 55) in good shape. Not collectors’ grade, but a solid user. It’s not a critical tool for me, but cutting grooves means setting up the router – finding the right bit, disengaging the router from the table to install it, and so on… I’ll moan about that more in a few minutes.
Pat (our lovely friend) warned me that I’d be disappointed. Since the last time I was there, Westfield has apparently fallen on some harder times. Most of the antique shops have shuttered, and only a few remain. But it’s a nice place to hang out for a few hours anyway.
Yeah, mostly gone. But the third shop I walked into was the Westfield Village Antique Center. It’s a neat little antique mall, probably 60 or so stalls and vendors, lots of long cases full of… well, stuff.
SWMBO said “I think there’s some old tools over there,” and pointed to the corner.
A Target-Rich Environment
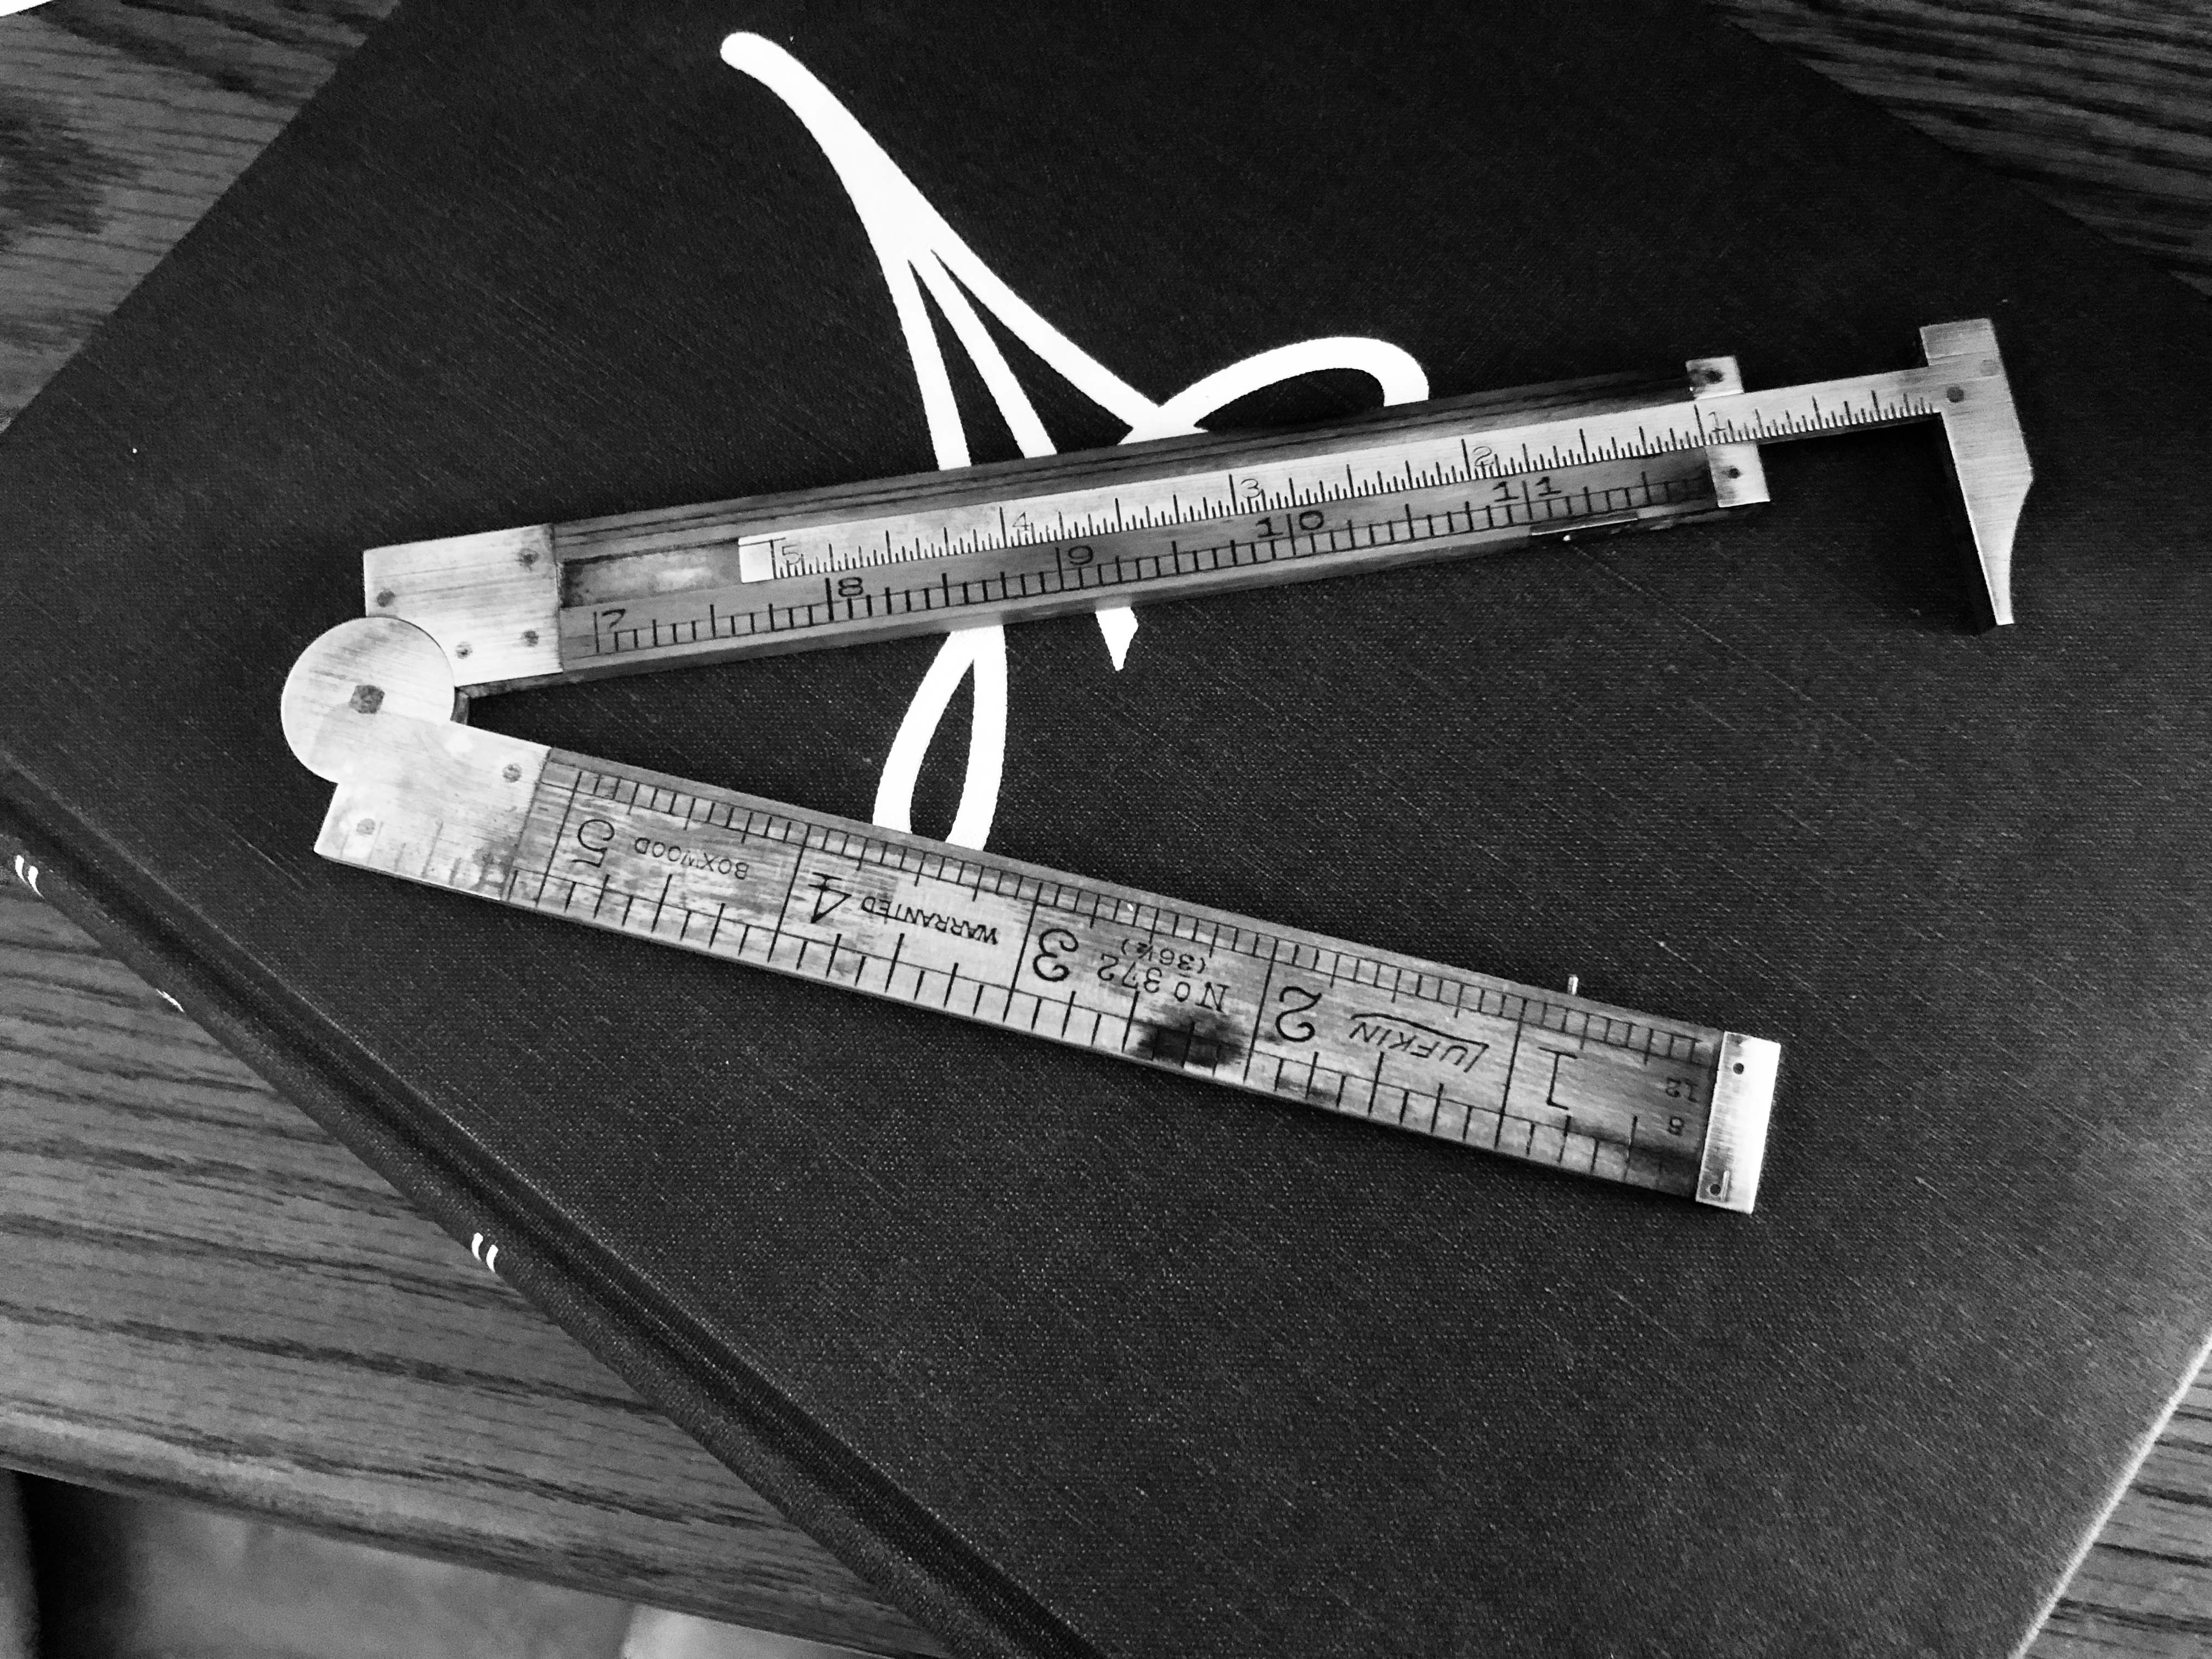
Actually, there were several things: a couple of brass-bound boxwood rulers. One – a Lufkin 372 with calipers, I snatched up so fast I almost broke my hand. Tight, clean, much easier to read than my fancy-schmancy metric-or-english digital calipers whose battery dies every time I pick them up. Perfectly accurate for what I need them for – finding the right router bit, drill bit, gauging board thickness, and so on. I have no earthly idea about its age, but it’ll outlive me, and I have the feeling it’ll be one of those daily-use tools.
 Next to the rulers was a Stanley #55. Patrick’s Blood & Gore describes it as “a torture that knew no bounds betwixt Gods and mortals“. That may well be true. They’re finicky as all hell, and can take forever to set up. However – this one had everything. It was completely, gloriously intact, including the boxes, all the cutters, every screw and the original printed instruction manual. I’ve never seen one in such condition. It was somewhere between “lightly used” and “never taken out of the box because I didn’t know what to do with the thing”.
Not what I wanted. Several reasons: they’re overkill for the kind of uses I have, I’m not a collector – I’m a user – and it was priced accordingly for such a beautiful find (i.e. way out of my intended price range).
And next to the #55, there it was.
The Treasure
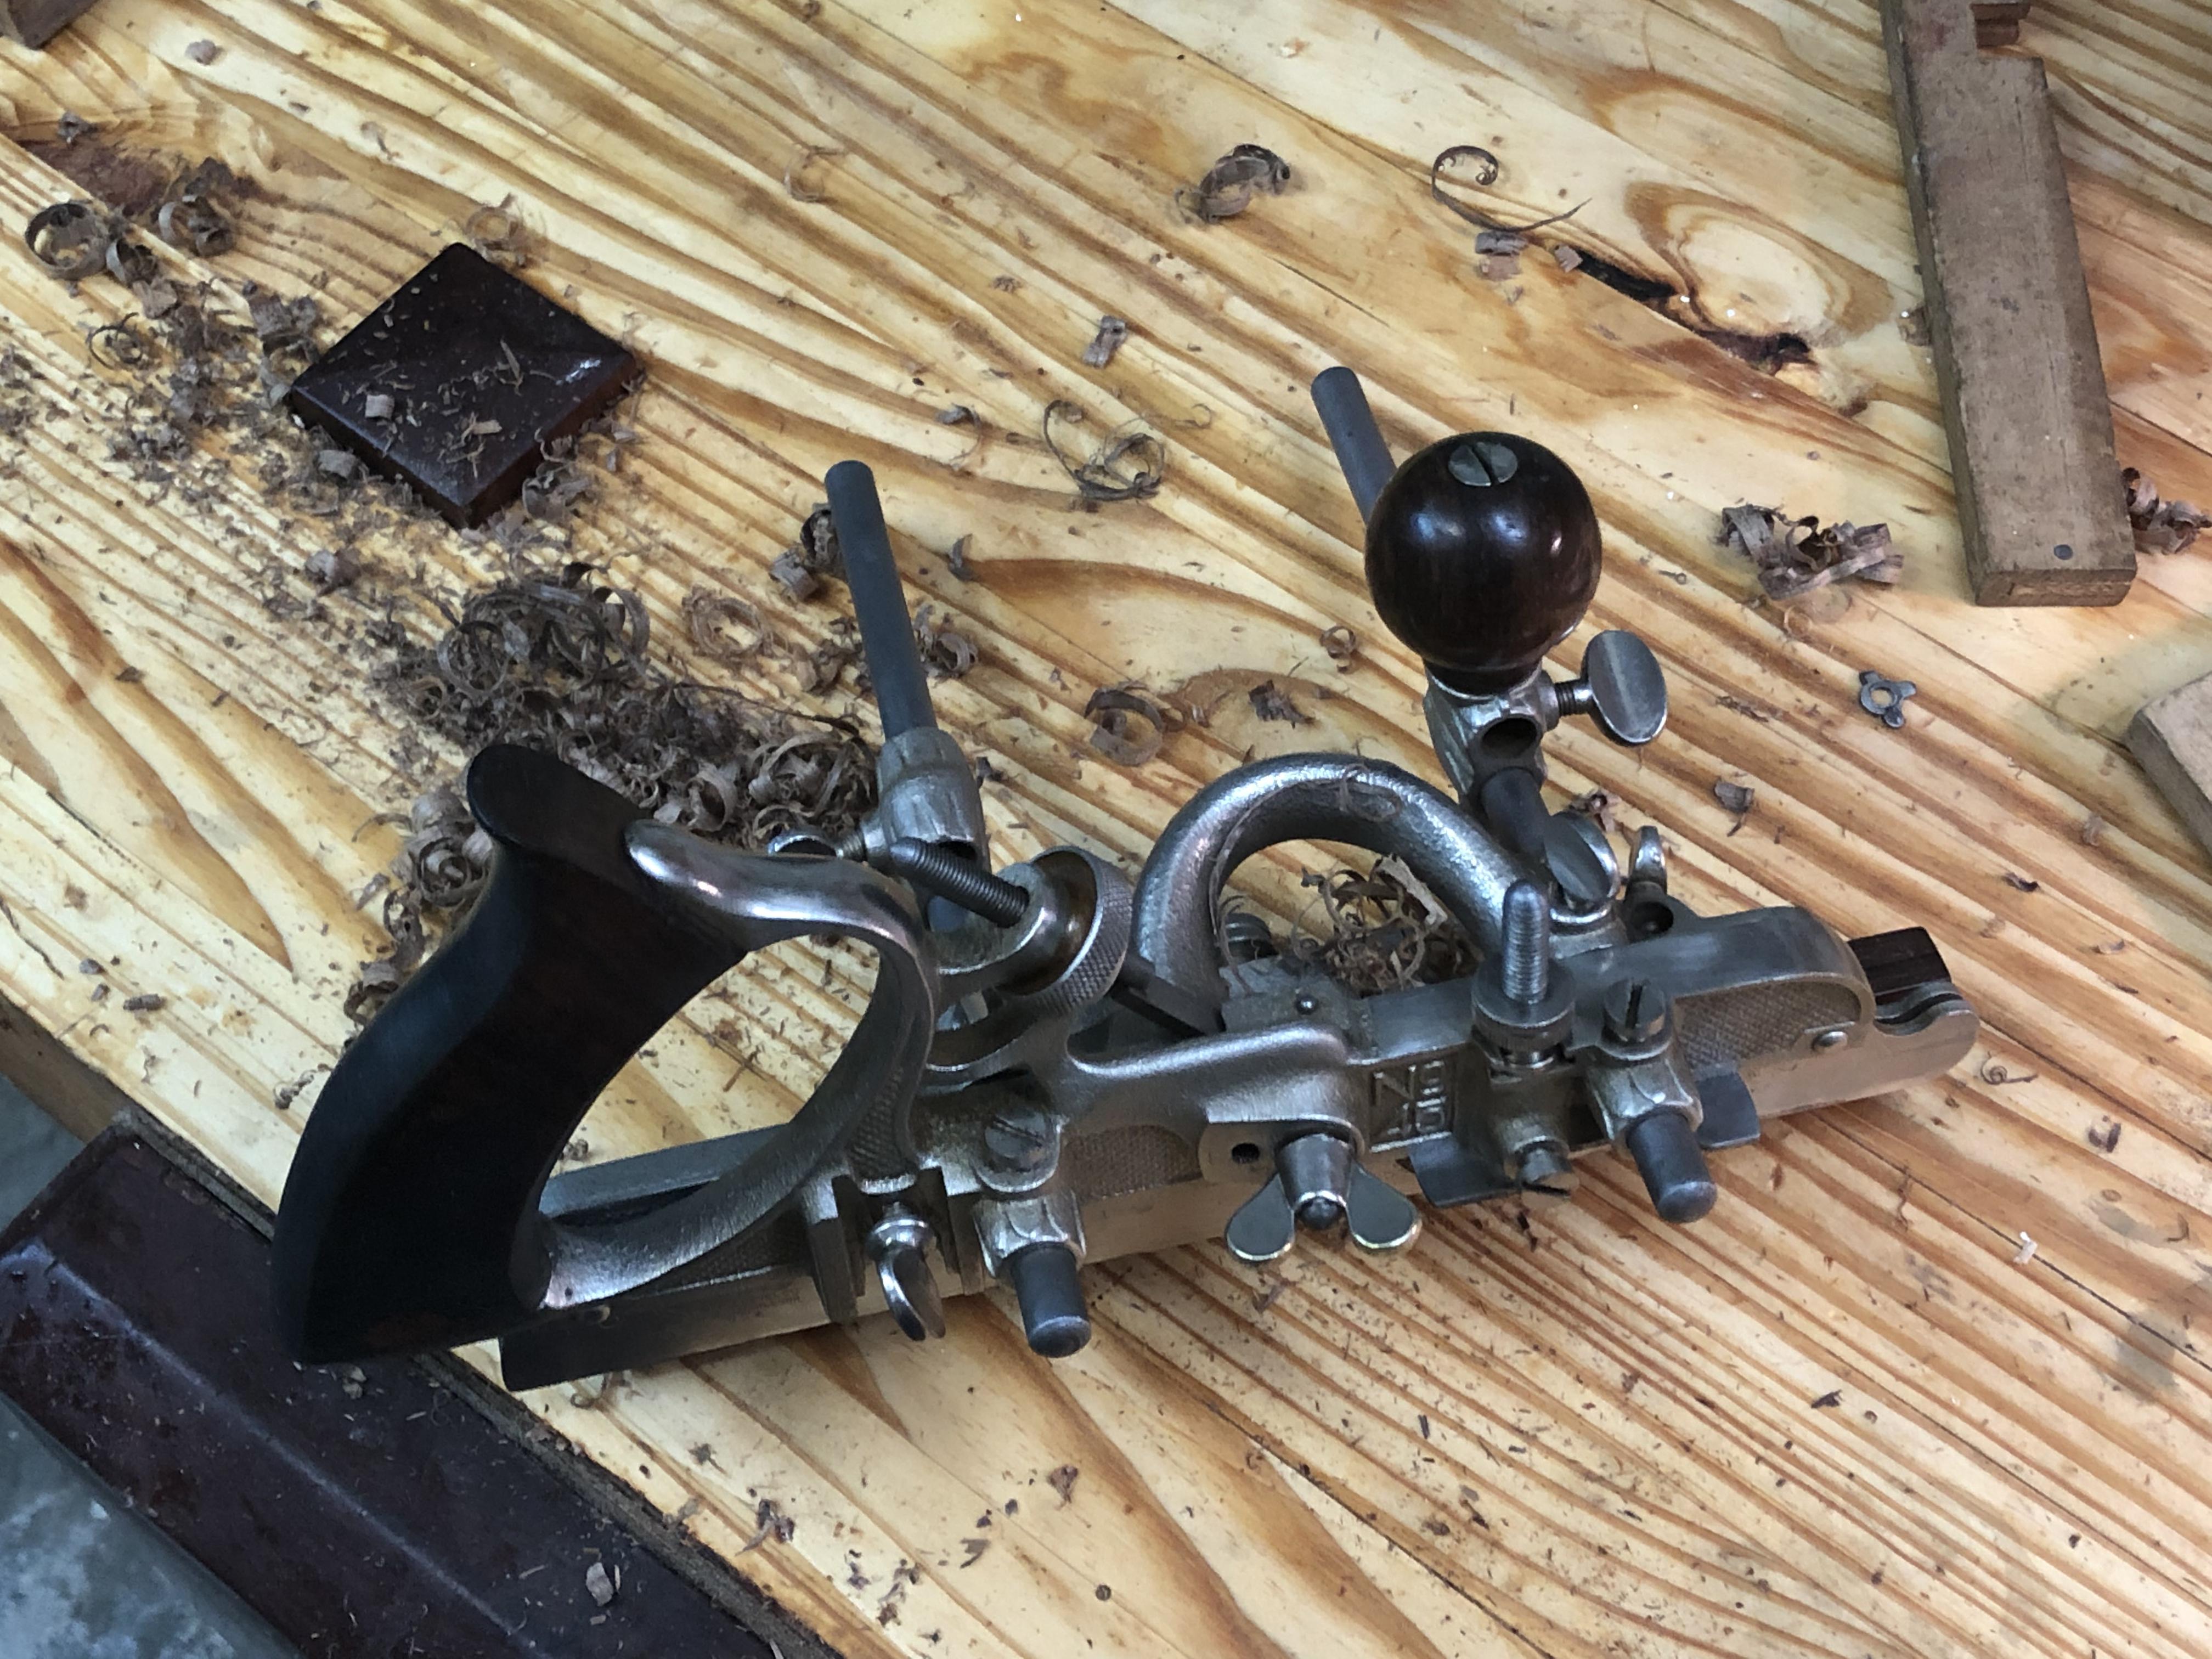
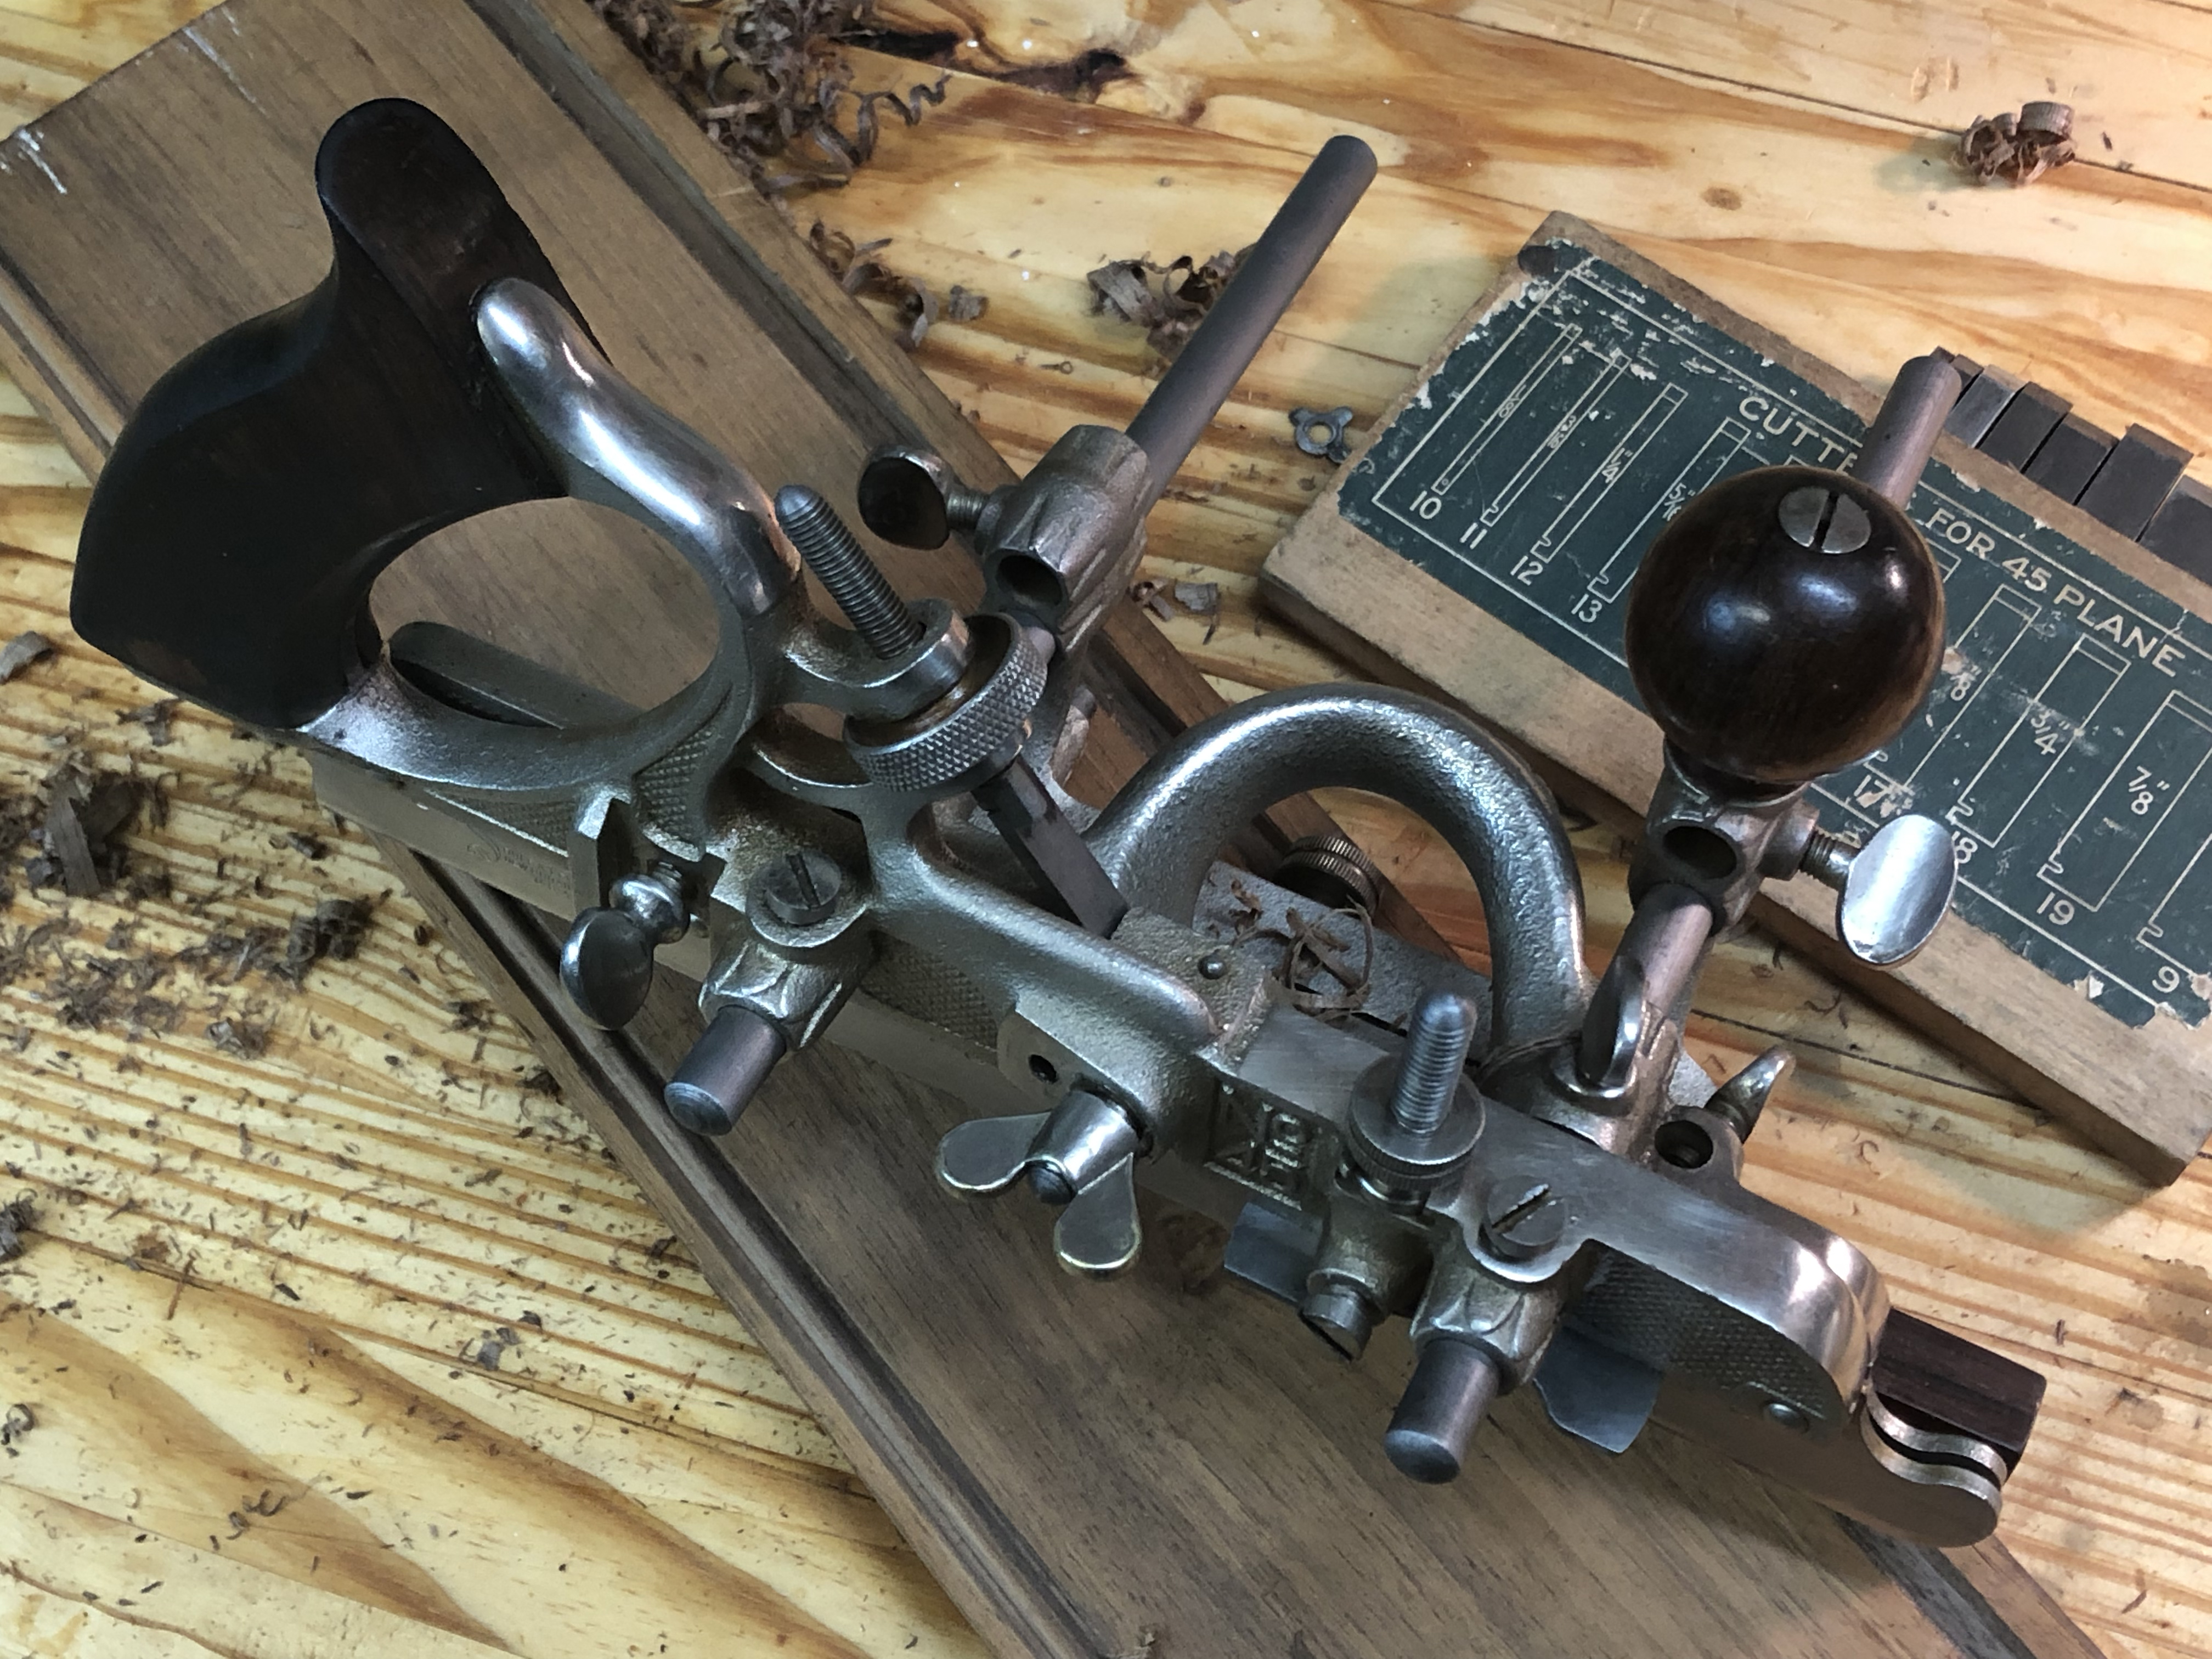
A Stanley #45. Condition somewhere between “lightly used” and “oh-my-God-this-is-so-cool”. Nickel-plated, probably somewhere between 1910-1919 (based on the cutters, the cam screw, and other minutiae).

The rosewood knob and fence are in very good shape, although the fence had a couple of blobs of orange paint on the ends. The handle is intact, solid, and uncracked, but discolored and blemished. There are spots of rust all over the skates, but no pitting that I could see. There are two missing parts: the cutter bolt clip and screw, and the set screw/brass rod for the cam assembly.
Its former owner had seen fit to stamp his initials (FS) on every single piece, both wooden and metal. Including cutters, depth stops, and thumbscrews. Well, to be fair, he probably either A) worked in a shop with apprentices and guys with similar planes (maybe with sticky fingers), or B) he had a new set of letter stamps and was having fun. Yes – that is going to lower the collector’s value significantly.
I spoke to the nice lady at the Westfield Village Antique Center. I demurred slightly… after all, it had FS’s stupid initials all over it, and it was missing a couple of parts. She immediately brought the price down, we shook on it and I was done. (Never mind how much, it was way less than anything comparable I’ve seen on eBay.)
The Cleanup
So at the end of the week, I flew home to Gawd’s Country. Yes, the TSA searched my bag. I don’t blame them in the slightest; there’s no way on earth they could have known what it is. Two people during the week asked if it’s a medieval torture device.
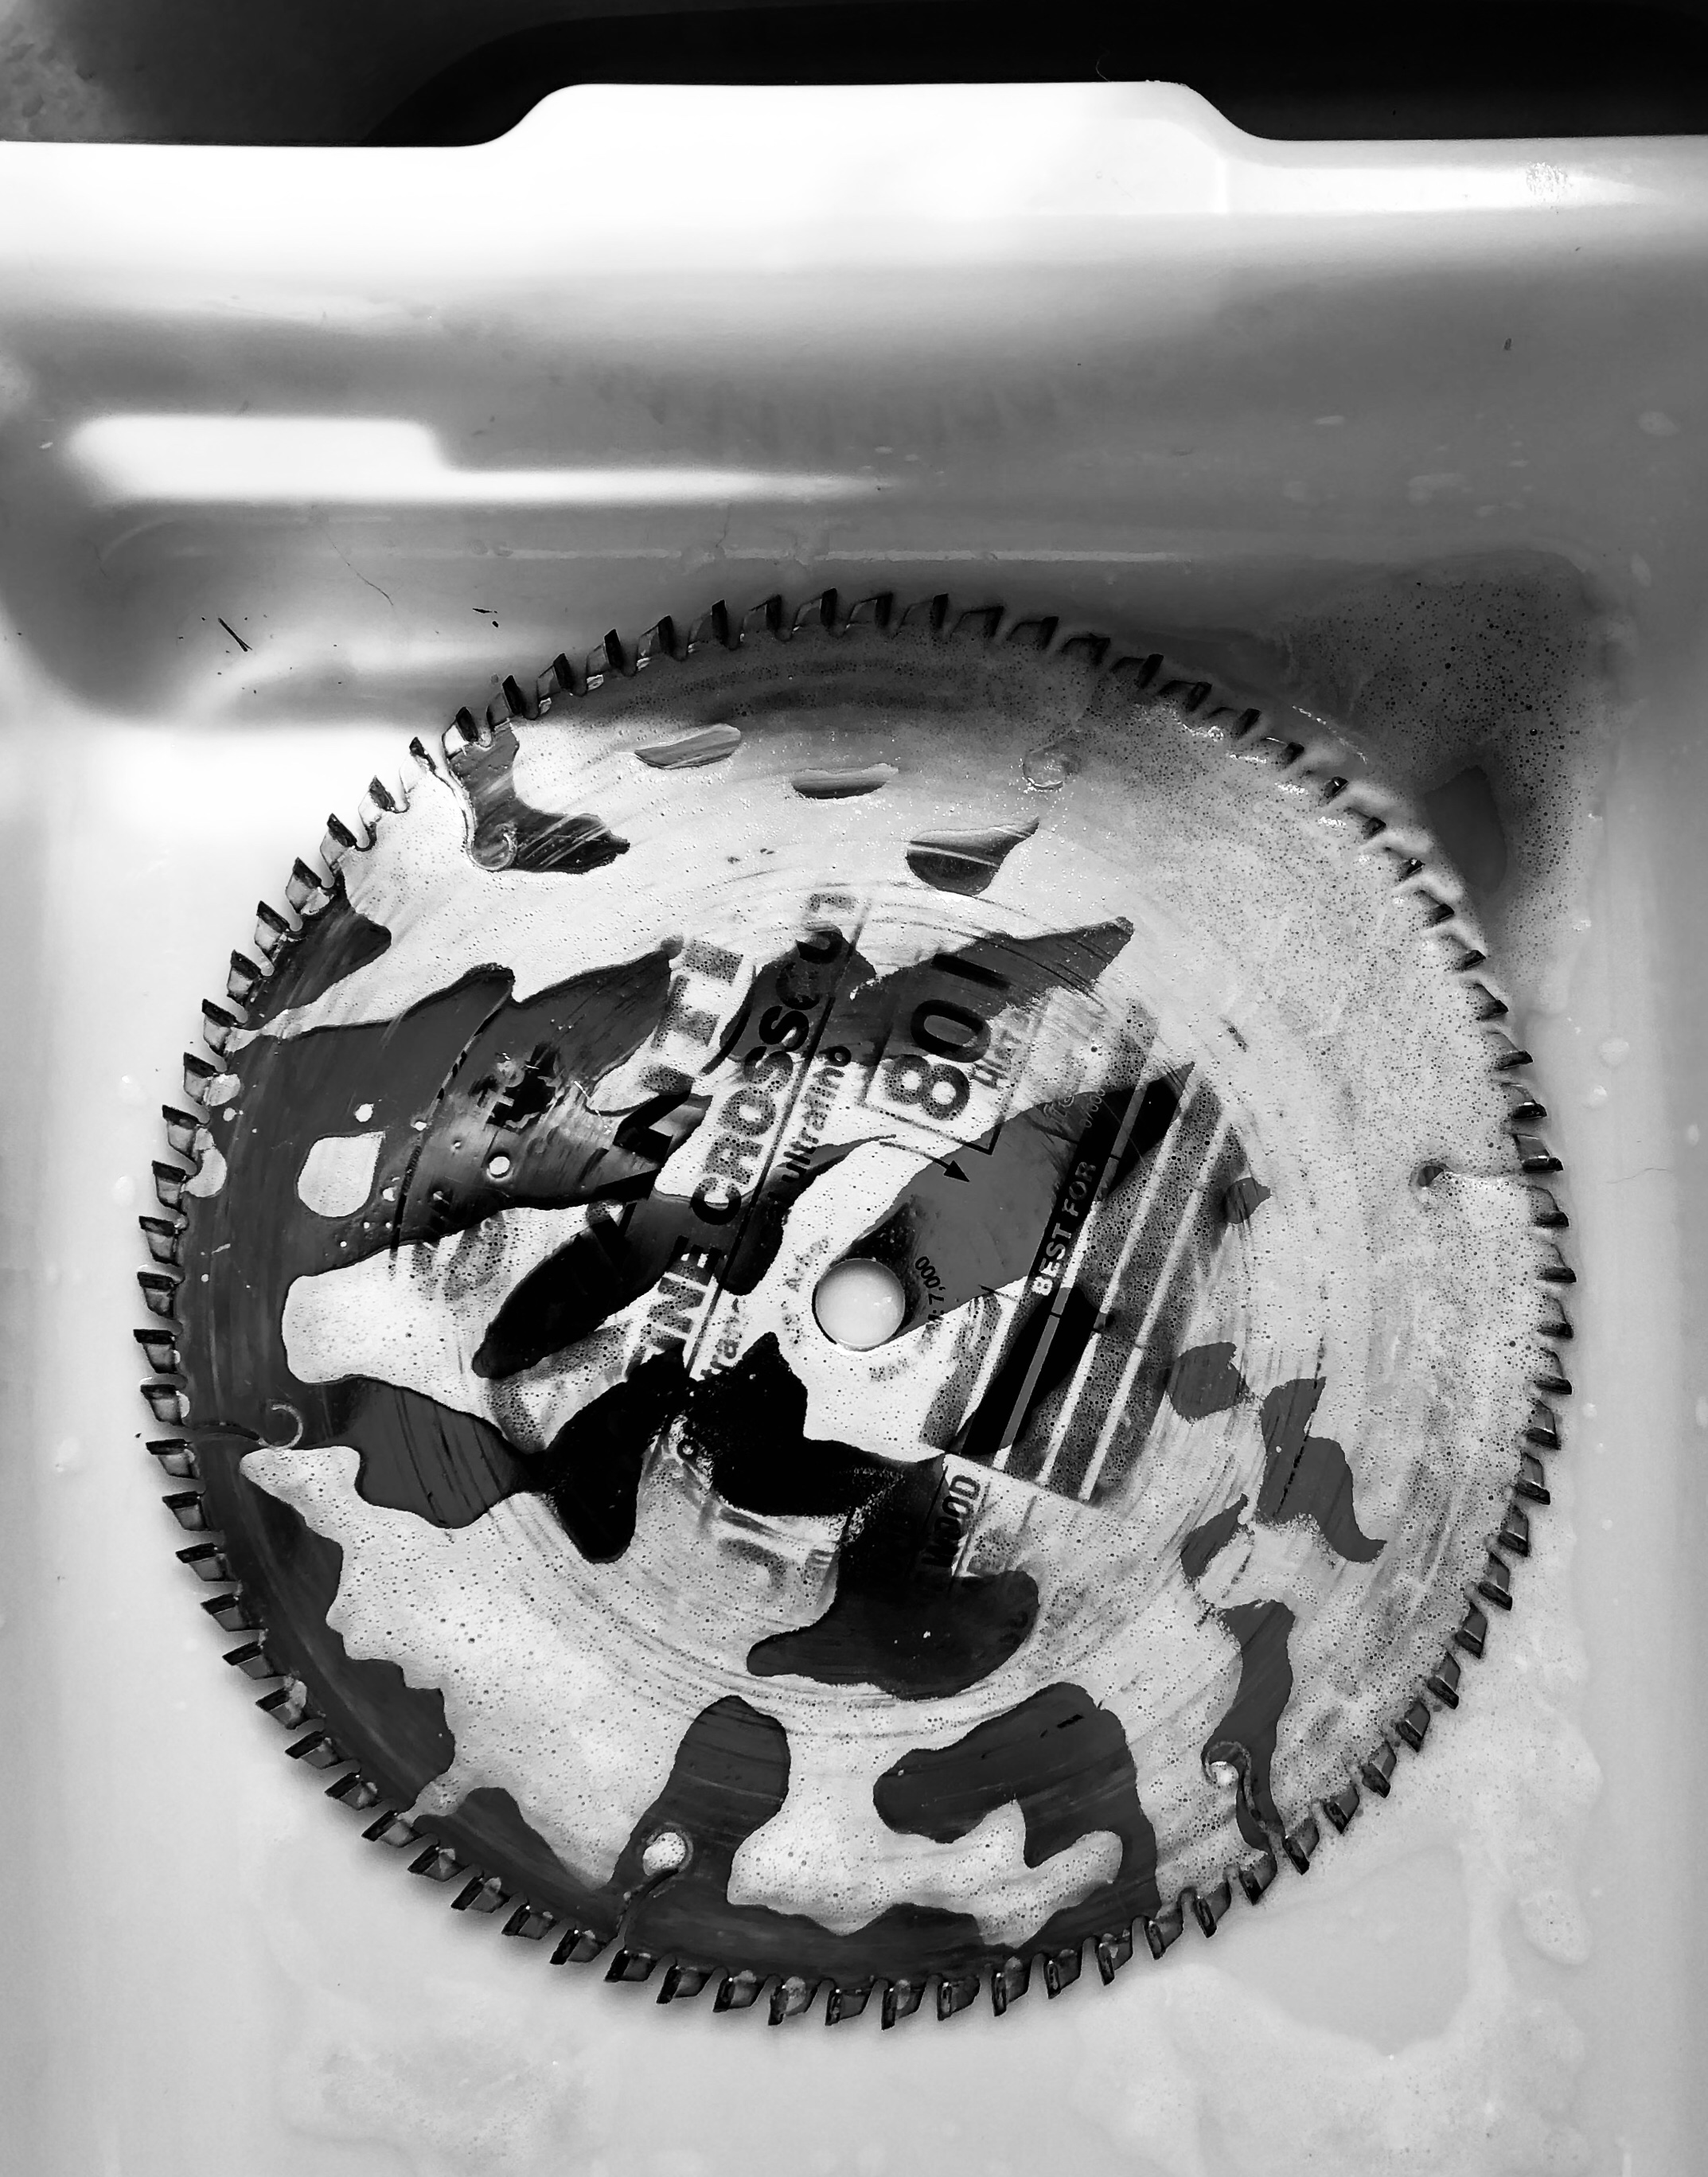
Disassembly was easy. I broke it down and soaked everything in a 50/50 solution of vinegar and water overnight. In the morning, I rinsed everything, dried it off, and applied some elbow grease via a green scouring pad and some camellia oil. I hit the wooden parts with some sandpaper and polished them on the (still fantastic) Beall Wood Buffer.
The rosewood just glows. The rust spots fell away. I sharpened two of the cutters. 15 minutes on eBay had the two missing parts ordered for about $10. (FYI: The function of the cutter bolt clip and screw is to make it easier to swap bits by holding the cutter bolt in position so the bit breaks loose when you turn the wingnut. Otherwise, you may have to tap it loose when you change bits.)
So two versions of today, as a test of both grooving and beading:
Story #1: I moved my Kreg router table to the benchtop. Removed the router motor , got the two wrenches, selected a 1/4″ bit and installed it. Reinserted the router (no, I don’t have a lift, which would have made things faster). Grabbed the setup bars, and set the bit height. Shifted the setup bar against the fence, rotated the bit to square, and set the distance from the fence. I connected the dust connector nozzle and turned it on. I did two cuts for the groove: one at half-depth, one at full-depth, to avoid tearout. Then I pulled the router out, got the wrenches, changed to the beading bit I wanted, got the setup bars, adjusted the height, and set it up against the fence to do a face cut for beading. I turned the dust collector back on, and ran two cuts again, one at half-depth, one at full-depth. Pulled the board out and put everything away.
Story #2: I got the setup bar I needed, picked up the #45, and set the fence width. Installed the cutter and adjusted the cutting depth. Clamped the board down to the workbench. Eight passes and I was done with the groove. Swapped out the beading cutter for the straight cutter, got the setup bar, and readjusted the fence depth. Clamped the board down again, eight or nine passes, and done.
Guess which one I like better? I’m not running a production shop. If I were, I’d want the dedicated router table and make machined grooves and beads repeatedly all day long. But this is my shop where I build custom furniture and get rid of my stress. No dust collector, no shlepping the router table around, no knuckle-banging bit changes. It’s going to take me some time to really learn how to use it well… but it ain’t rocket surgery, and it’s fun.
Next step: build a box. I’m out of space in the tool cabinet for another plane. <sigh> I’ll probably replace the three missing cutters, just to have them.
This is not a tool-collector’s saga. This is a solid, flexible user plane that I’ll use to cut a lot of drawer grooves and beading. And it has a story. Gotta love that. And next year when I visit, I’m going back to Westfield.
Ross Henton
September 2019


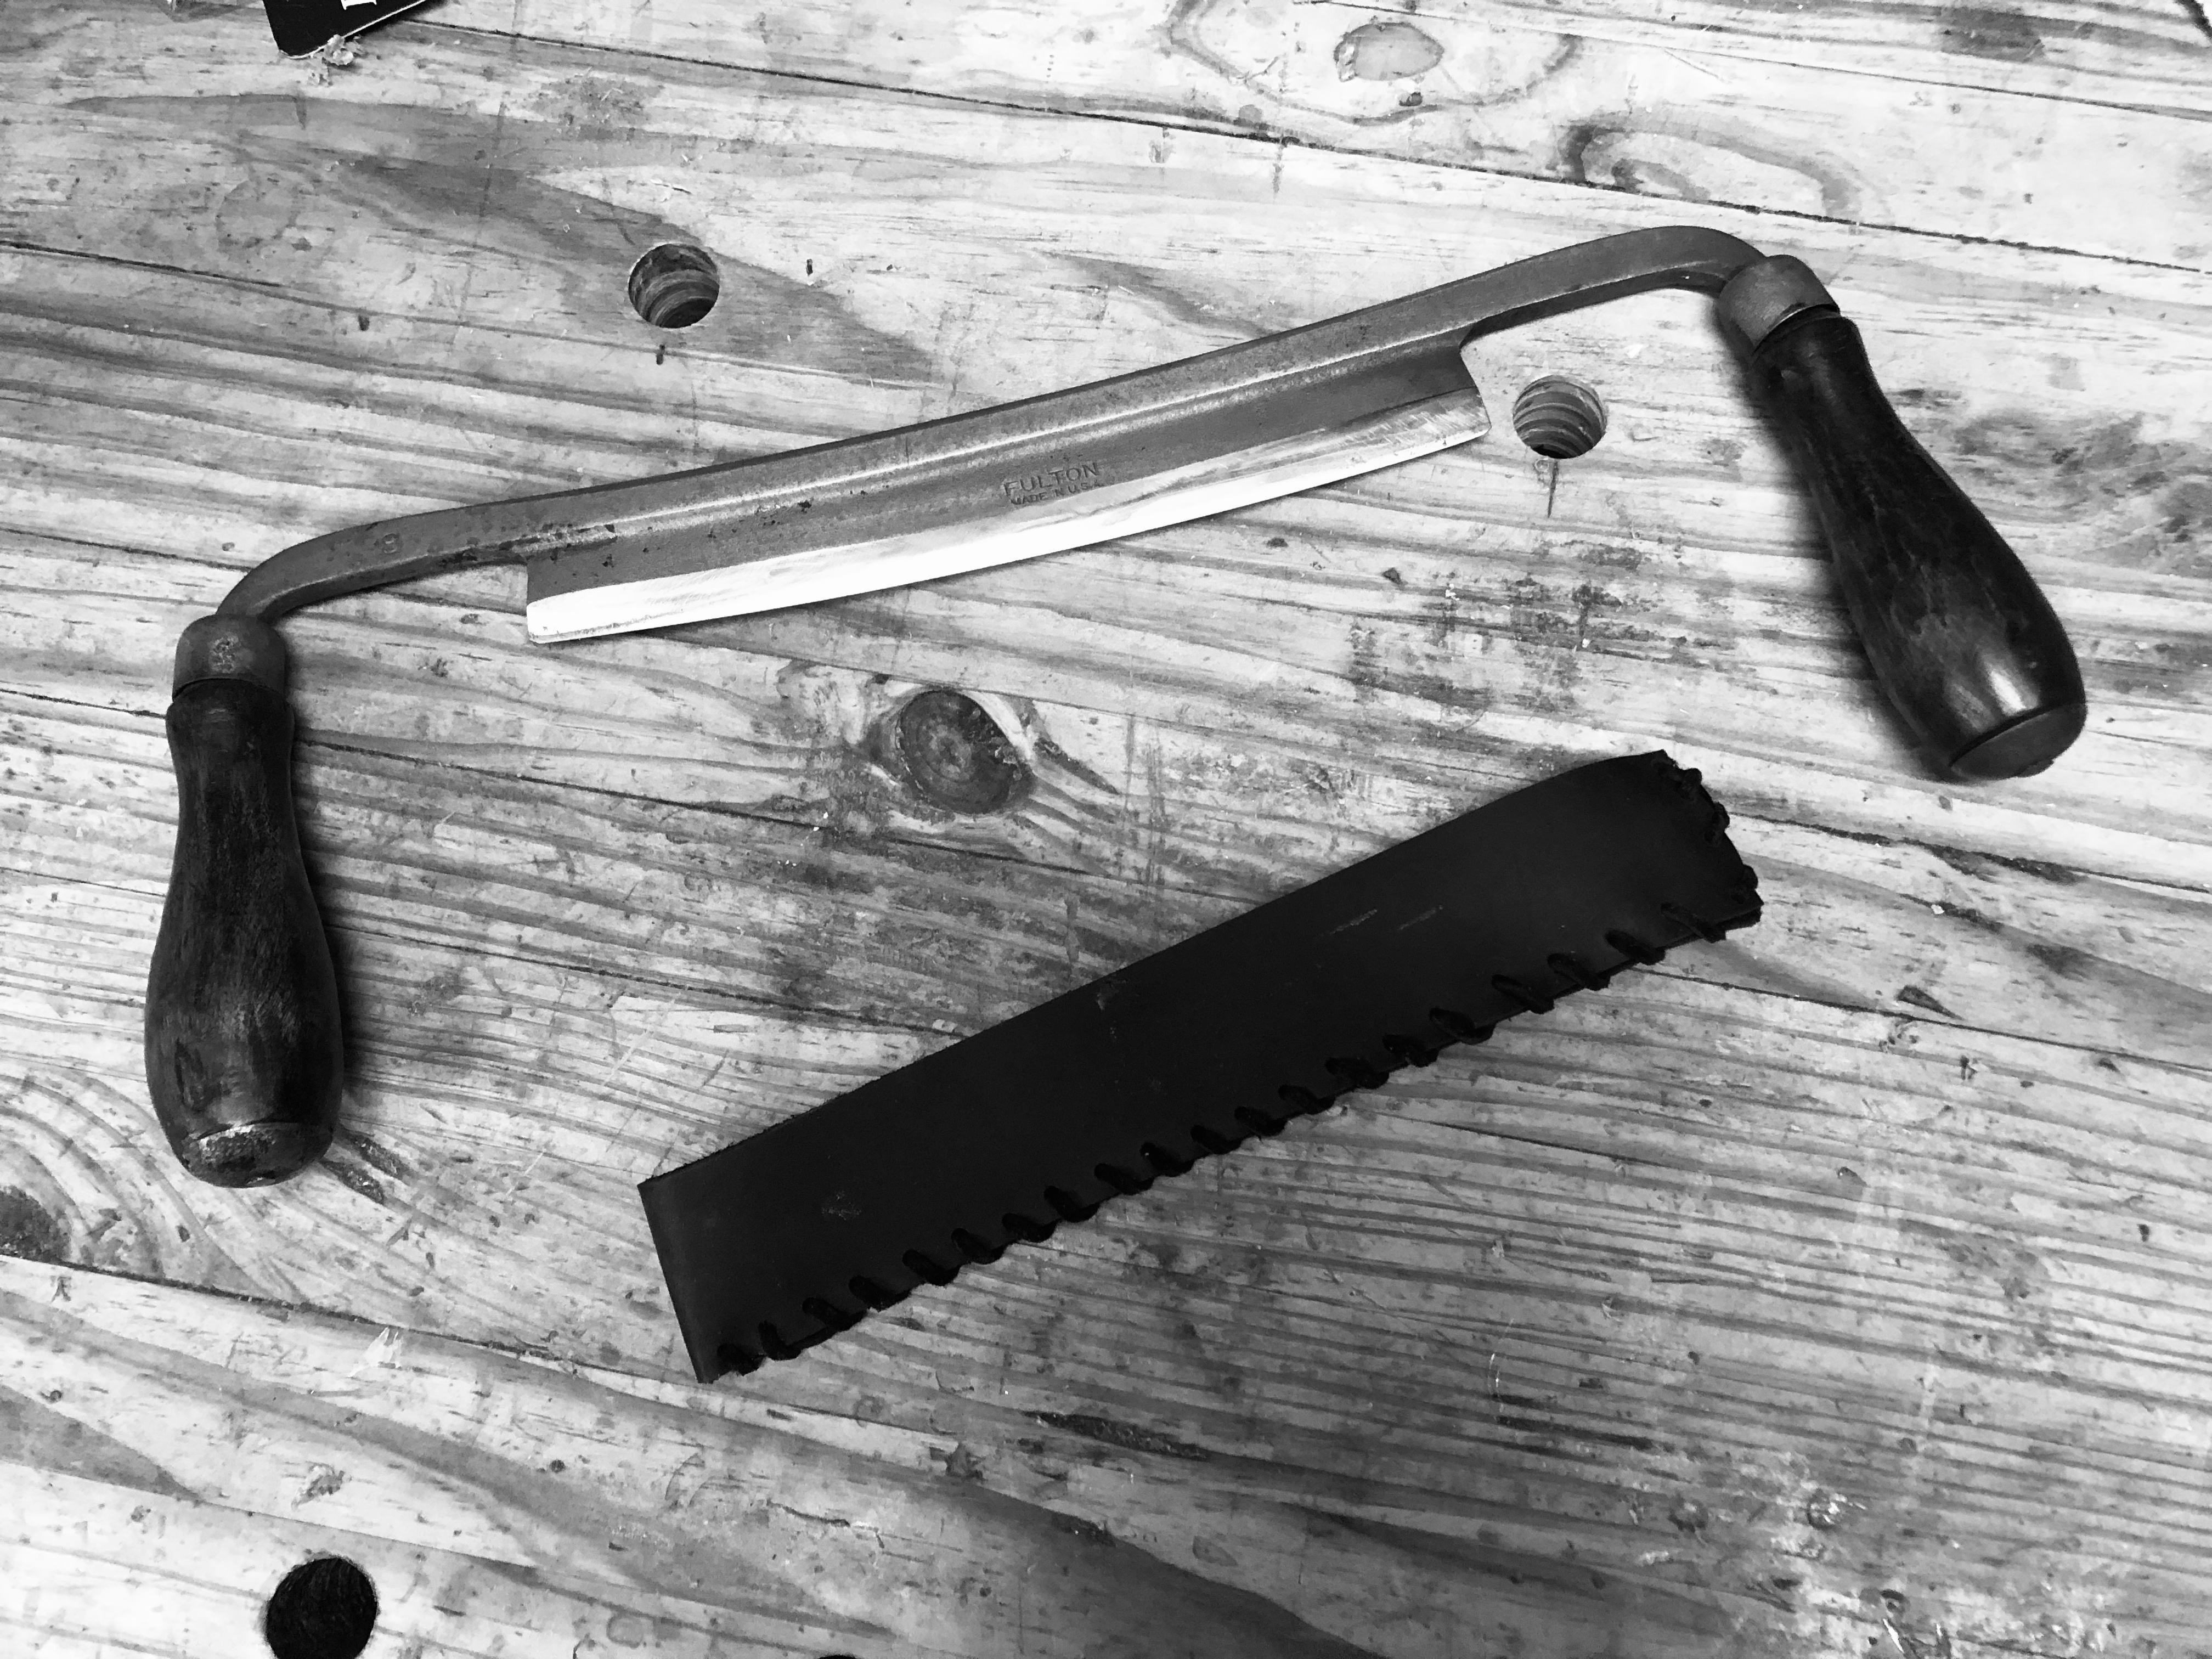
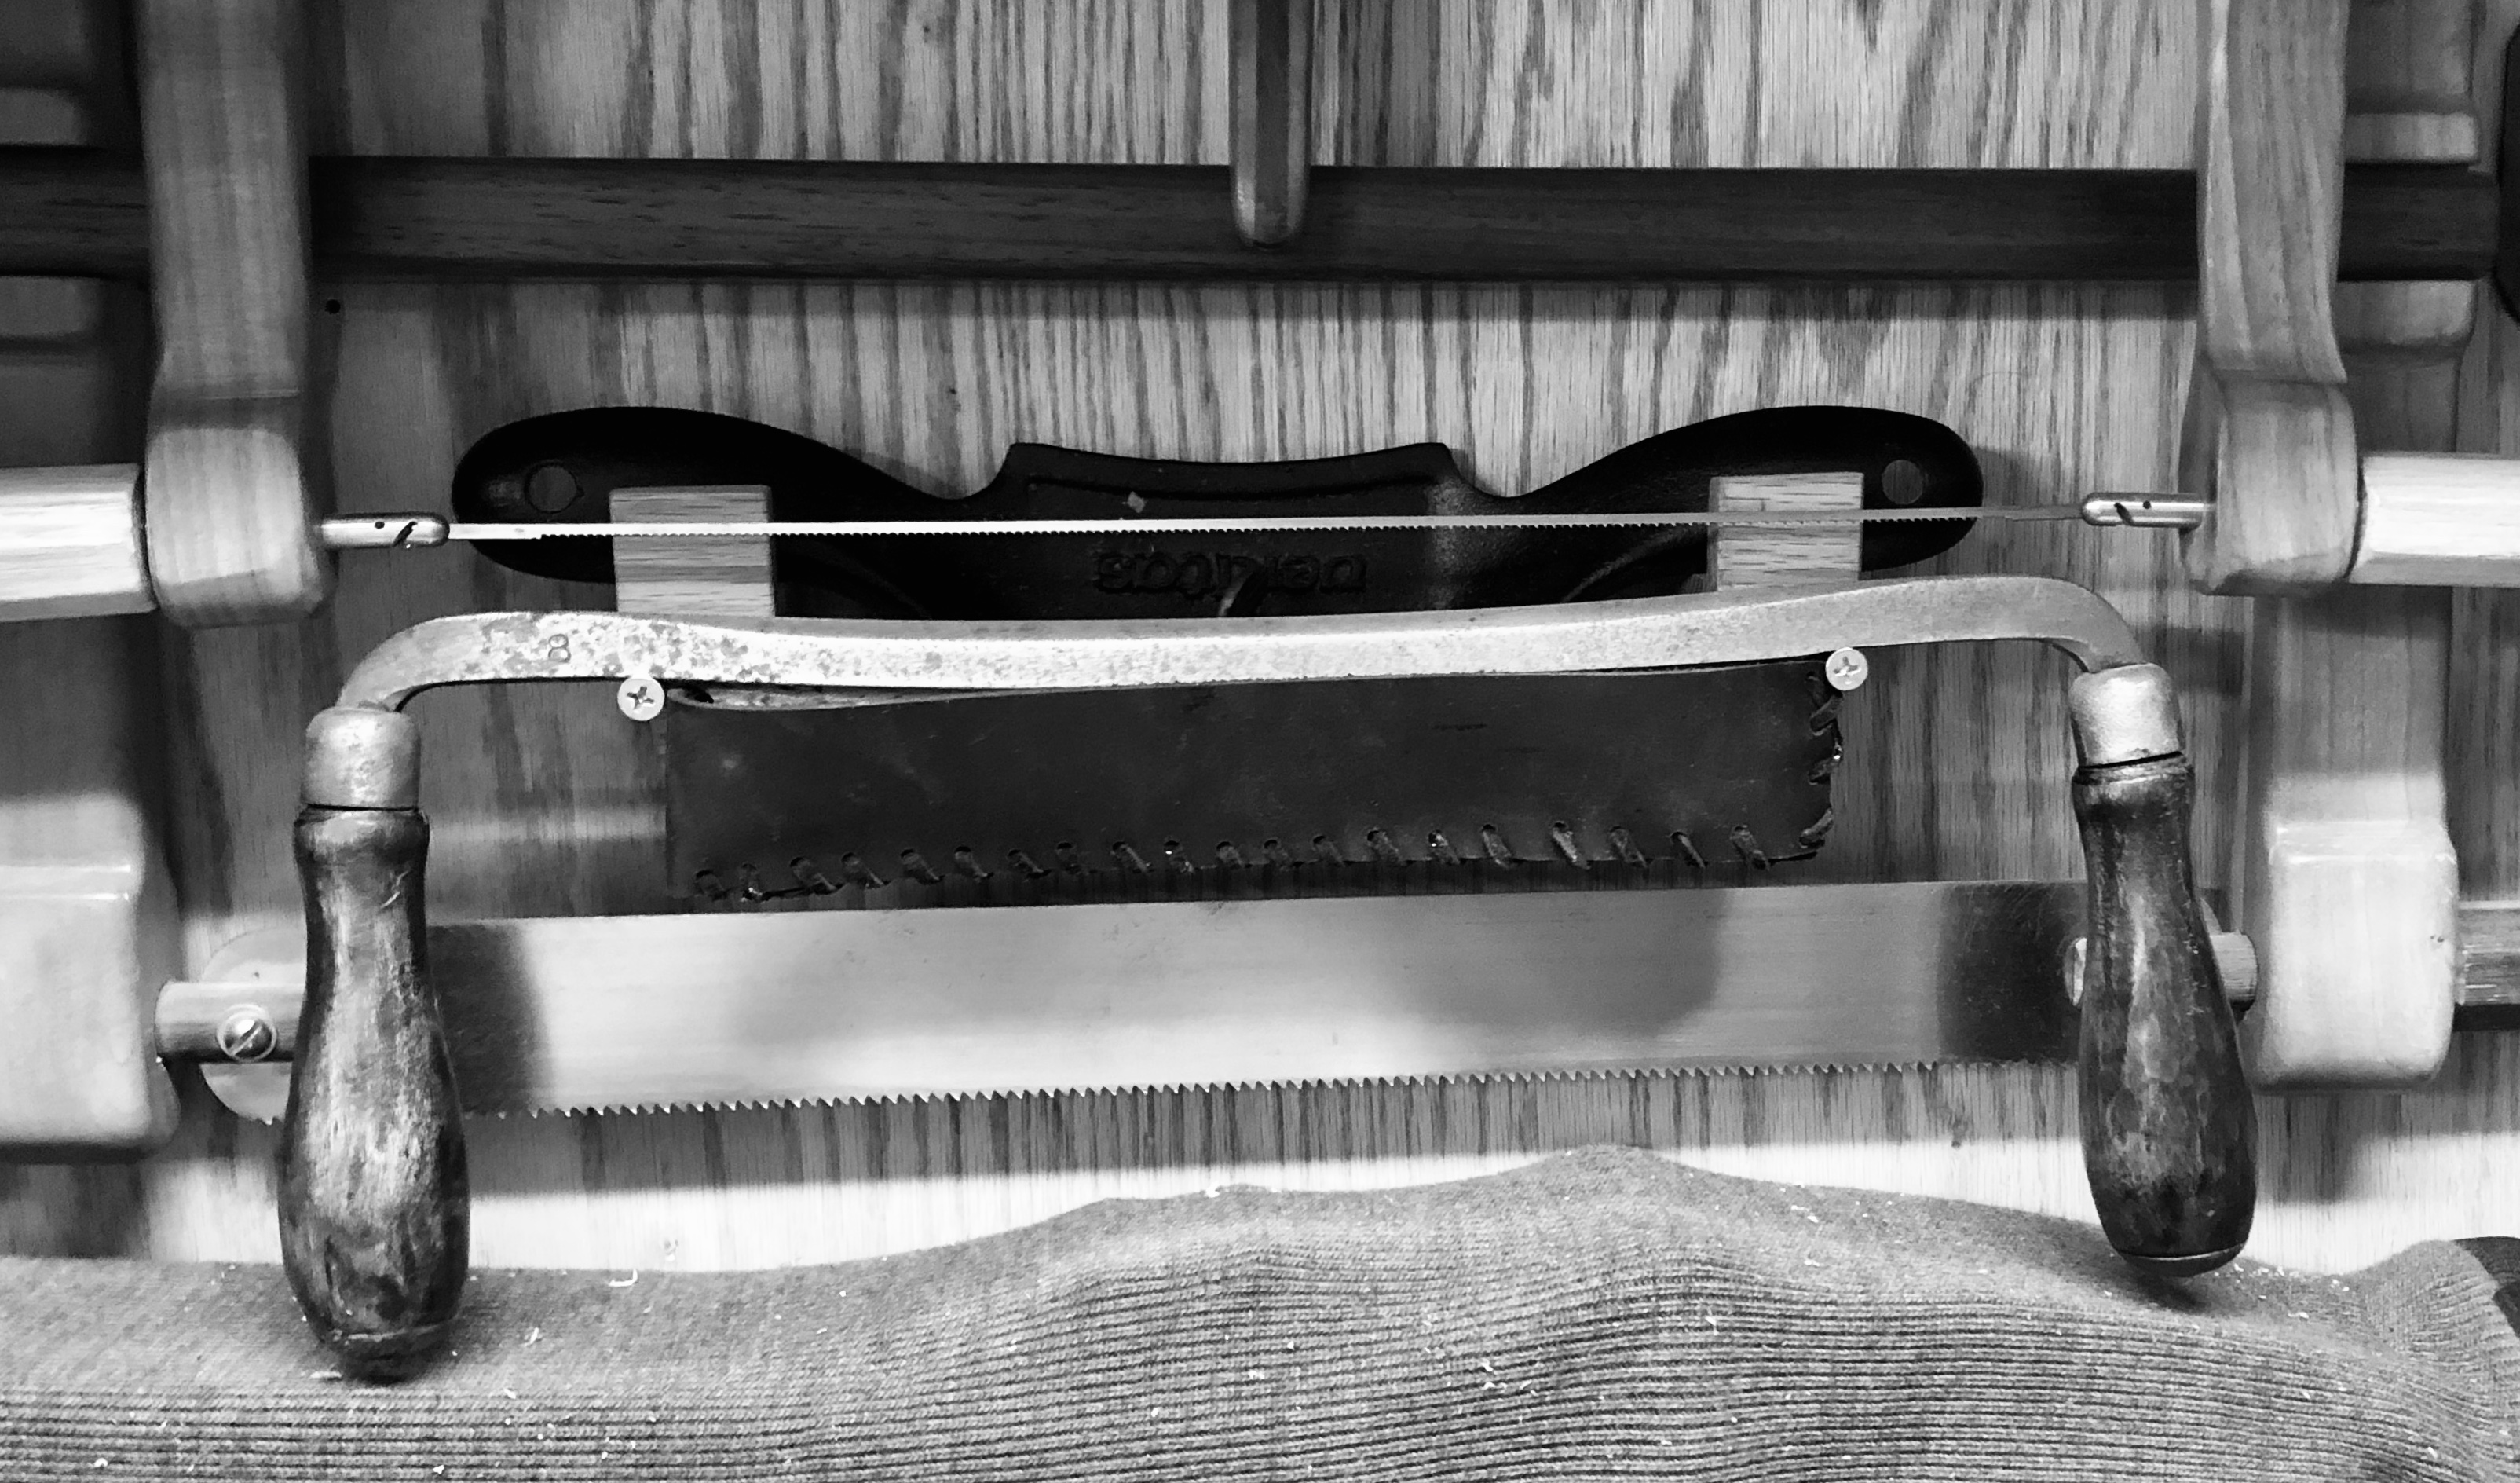
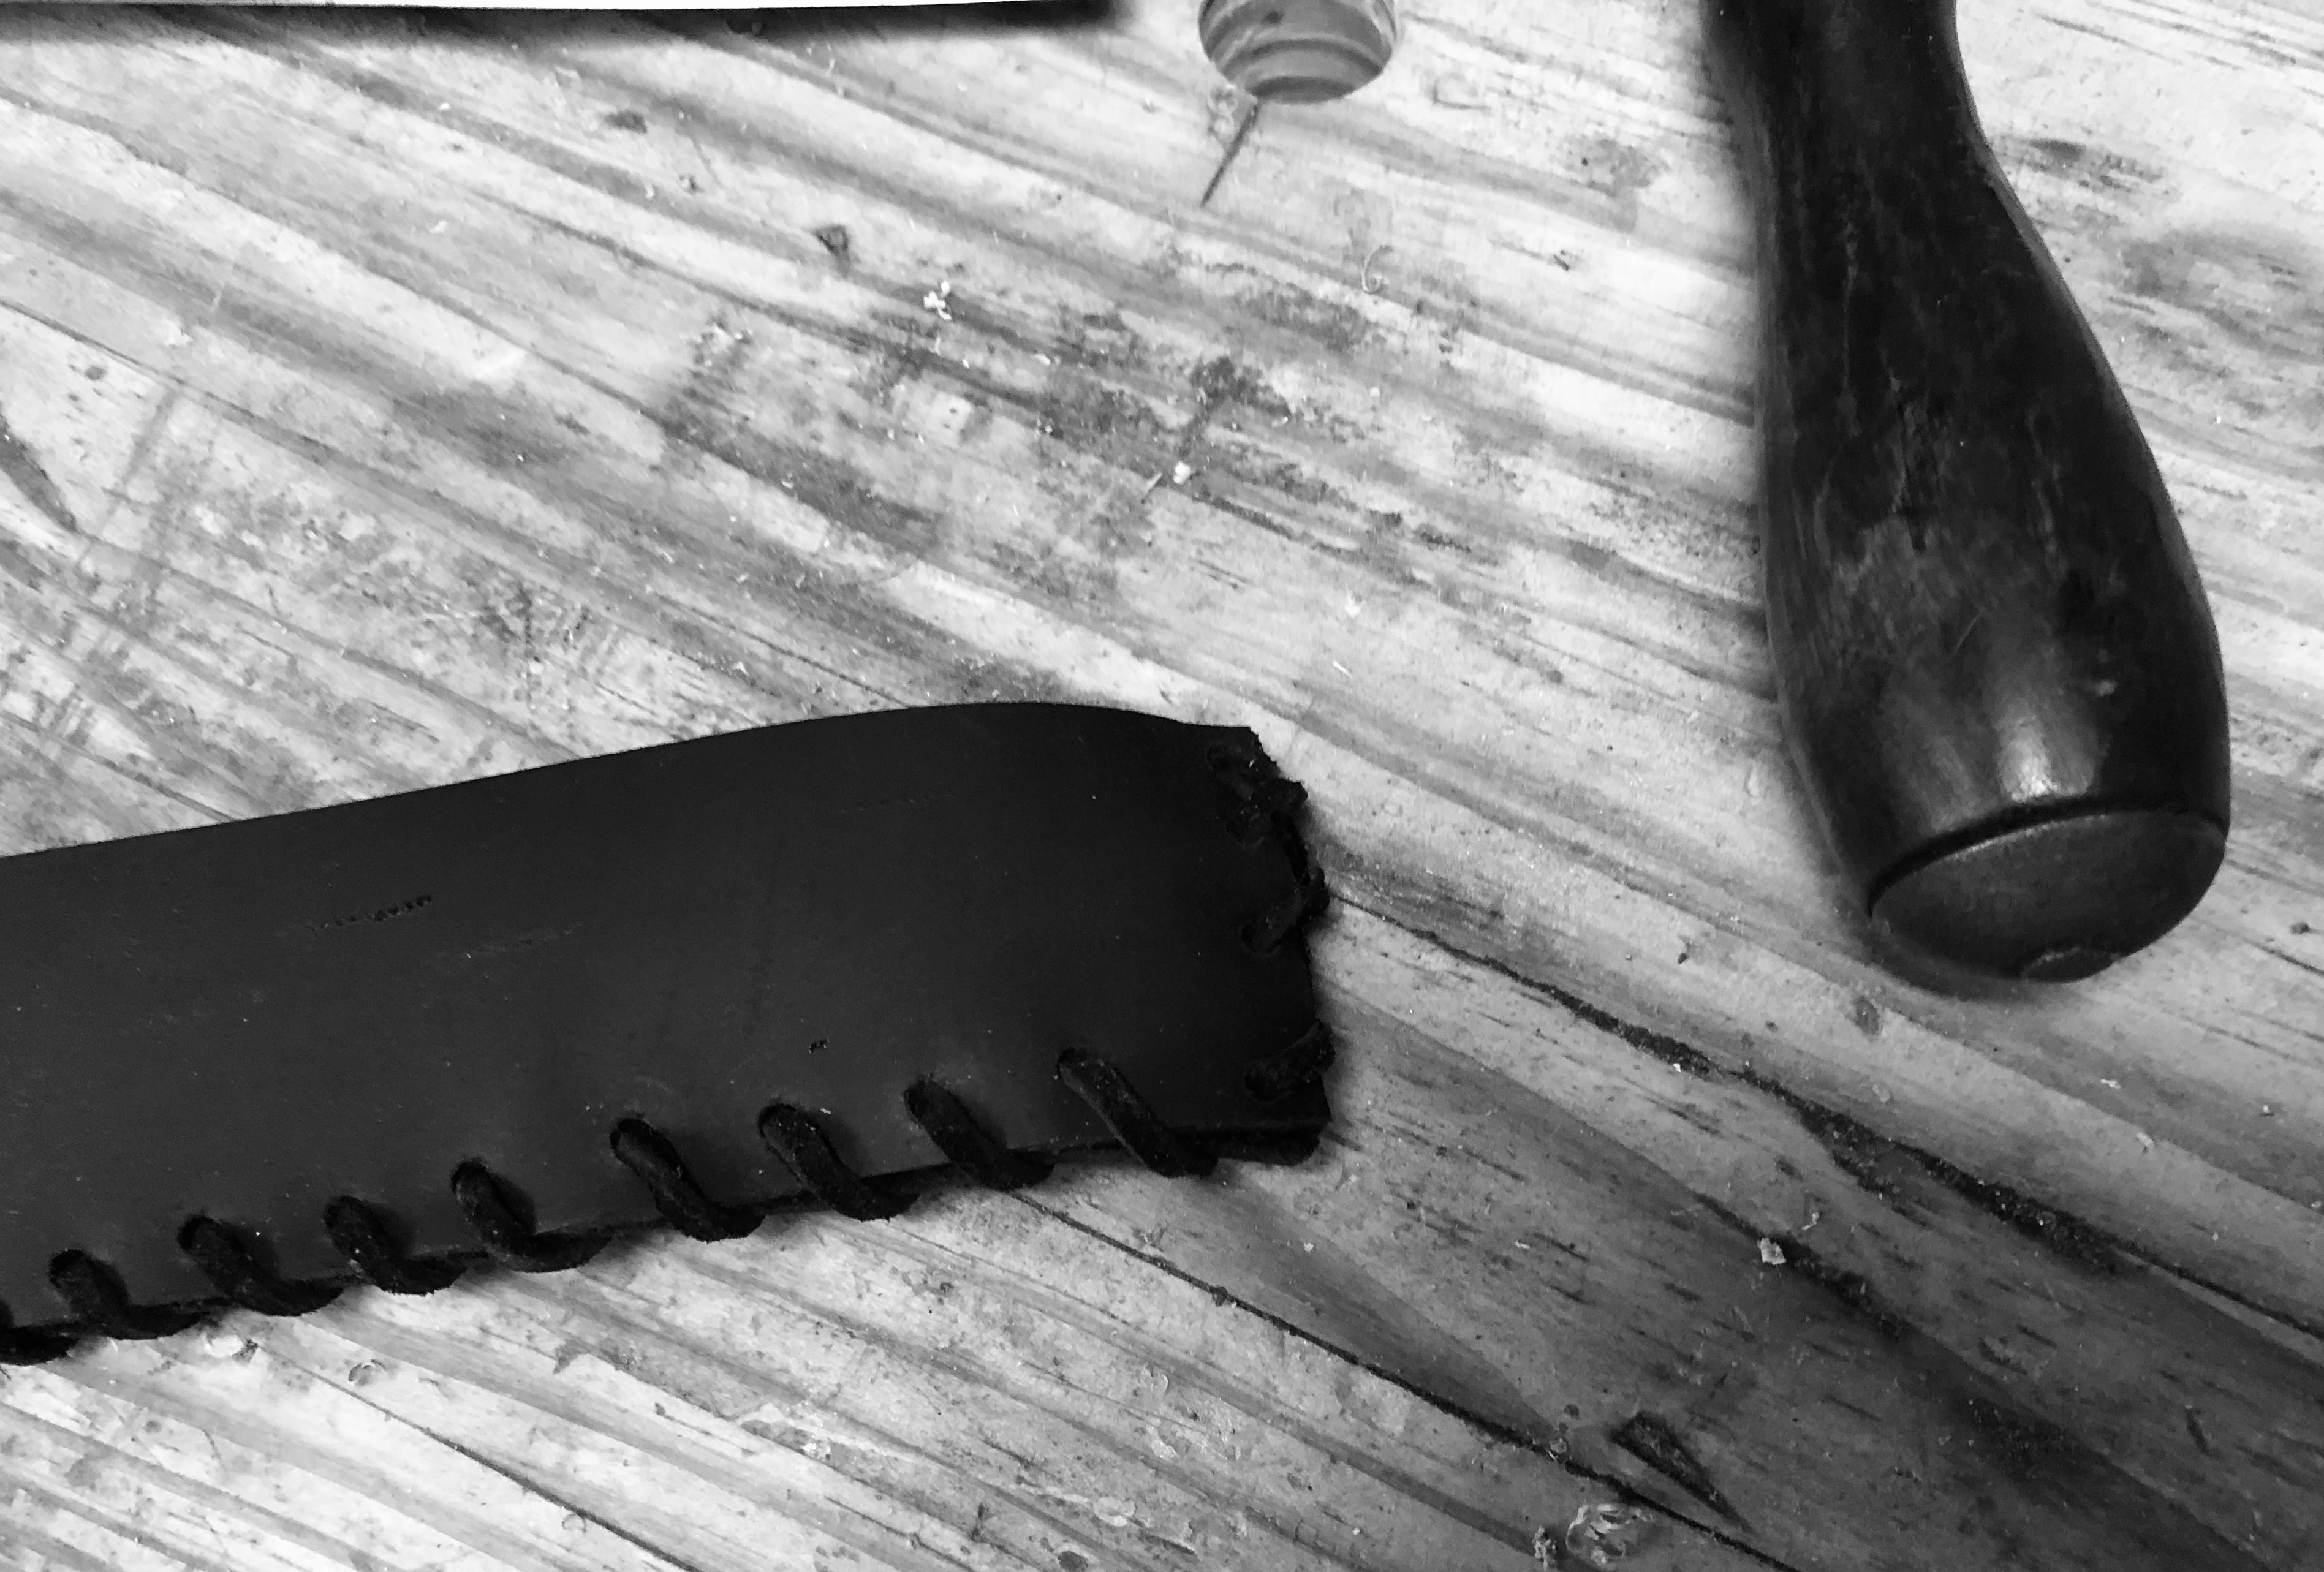 Today’s 30-minute exercise: Make a guard for the spokeshave that might save me a trip to Primacare. I scrounged an old leather belt, cut it to length, folded it in the middle, and punched holes around the long edge and up the side. I took a piece of black leather lacing, and sewed it together, se
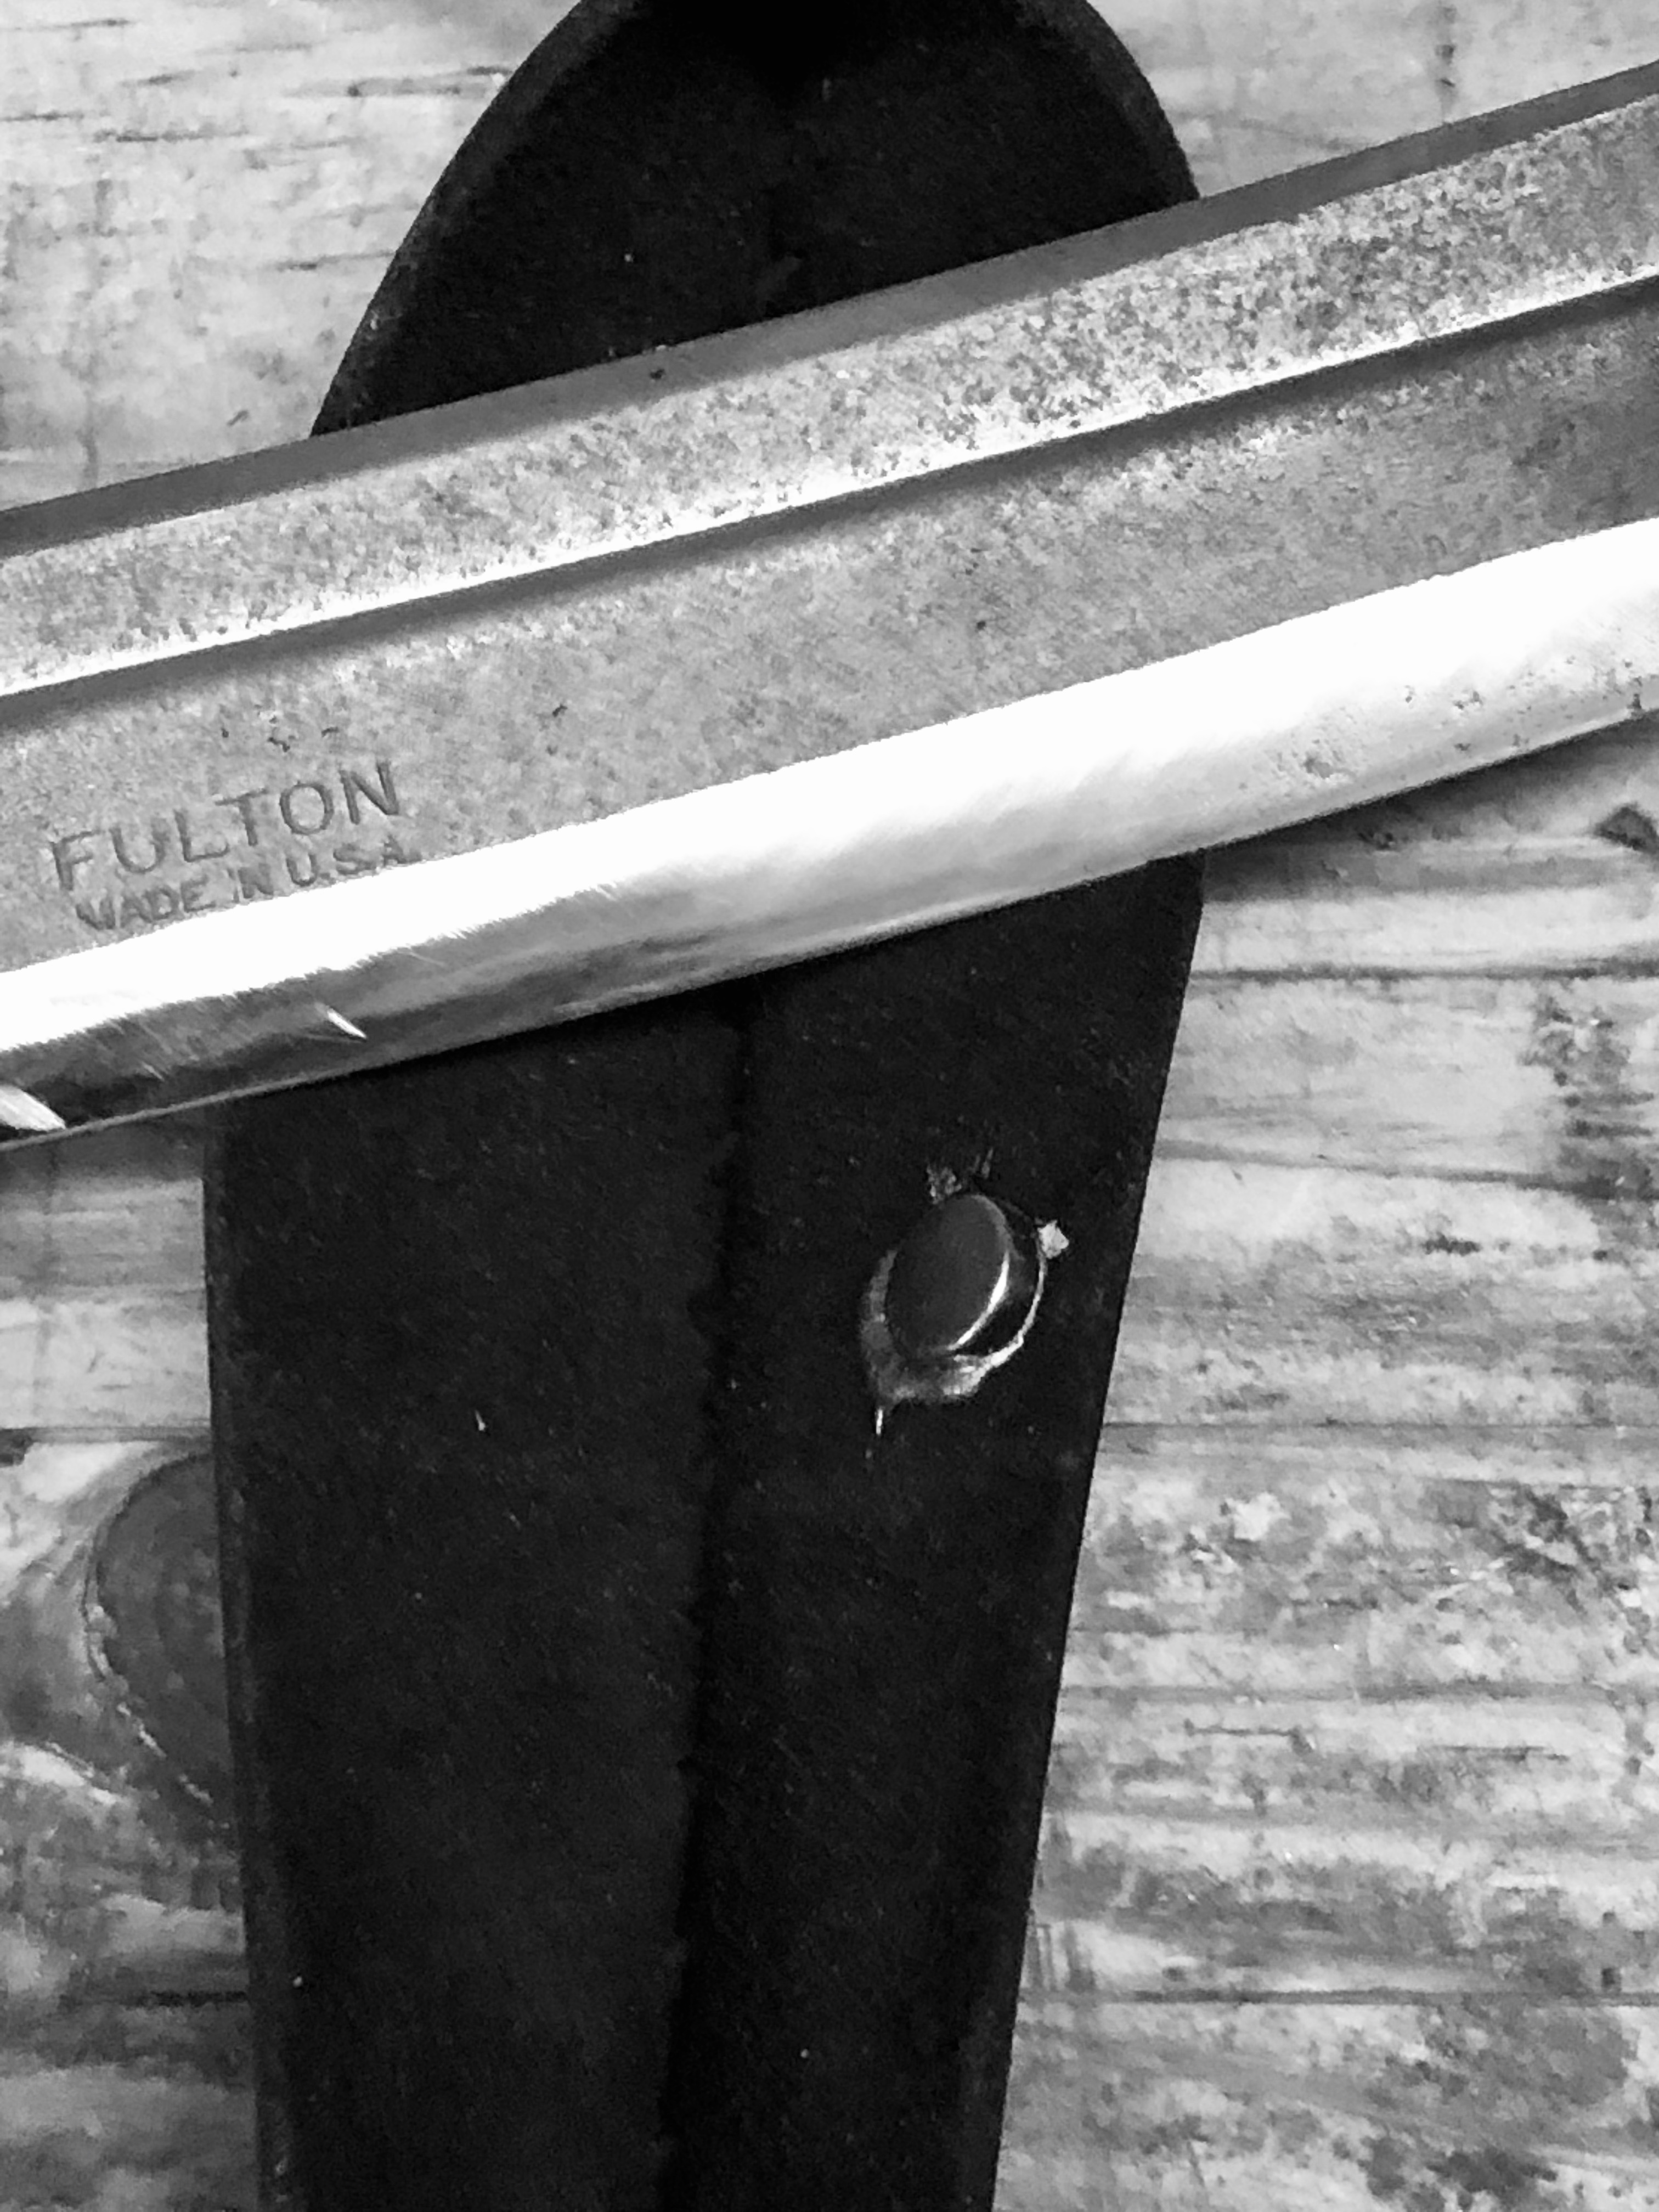


